
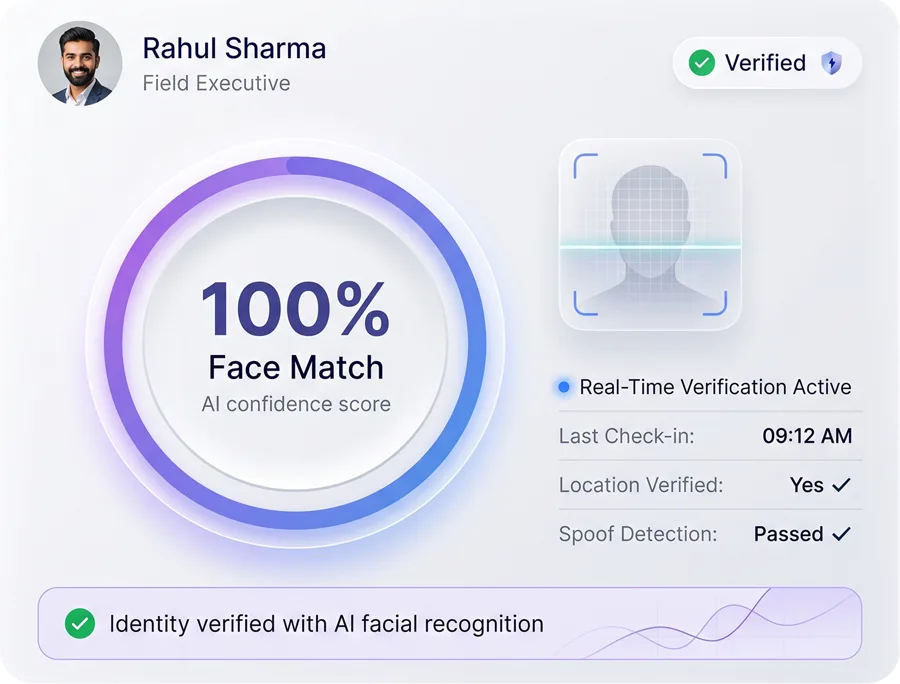
?What is Face Recognition in TrackoField?
Face Recognition is an authentication mechanism used to verify a field executive’s identity before allowing Mark-In or Mark-Out from the TrackoField mobile application.
When enabled, the system validates the live face scan of the Field Executive against their approved registered image.
Attendance is marked only after successful validation.
Why is Face Recognition Important?
Face Recognition helps:
1. Prevent proxy attendance.
2. Ensure identity validation when marking attendance
3. Maintain audit transparency
4. Strengthen attendance compliance
It adds an authentication layer without altering the existing attendance workflow.
iKey Components
The Face Recognition module consists of:
FO Settings Toggle
Enables or disables Face Recognition for attendance.
Face Registration Screen
Allows employees to register face.
FR Status Column
Displays registration status in Executive List.
Approval Workflow
Manager approves or resets registration.
Verification Type Logging
Attendance logs capture Recognized / Unrecognized / Manual status. There are reports as well for checking verification and unrecognized users.
1Configuration (Manager Side)
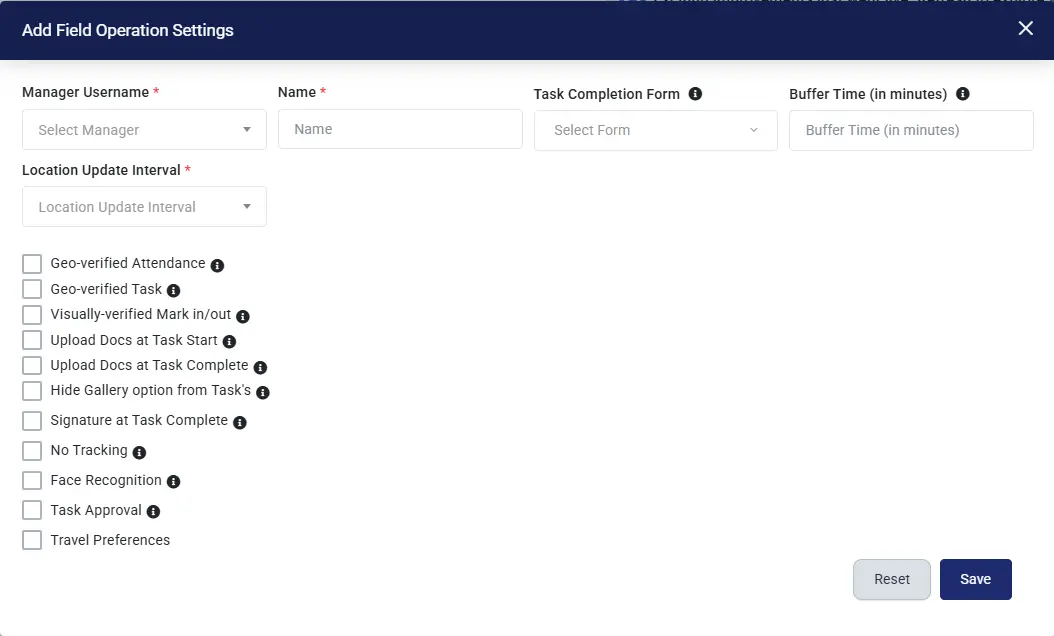
How to Enable Face Recognition for Attendance?
Navigation Path: FO Settings → Attendance Configuration
1. Locate the checkboxEnable Face Recognition for Attendance.
2. Enable the checkbox
3. Click Save
Behavior When Enabled
- An employee must register their face.
- Attendance cannot be marked without successful face validation.
- FR Status column becomes active in the executive list.
- Camera auto-launches during Mark-In and Mark-Out.
Behavior When Disabled
- Attendance can be marked without face validation.
- FR Status column displays NA for all employees.
- No camera verification is triggered.
Default Behavior
Face Recognition is Disabled by default unless enabled by the Root Manager via FO Settings.
2Face Registration (Field Executive – Mobile App)
How to Register Face?
Precondition
Face Recognition must be enabled in FO Settings by the Root Manager.
Navigation Path (Mobile App): My Profile → Face Registration
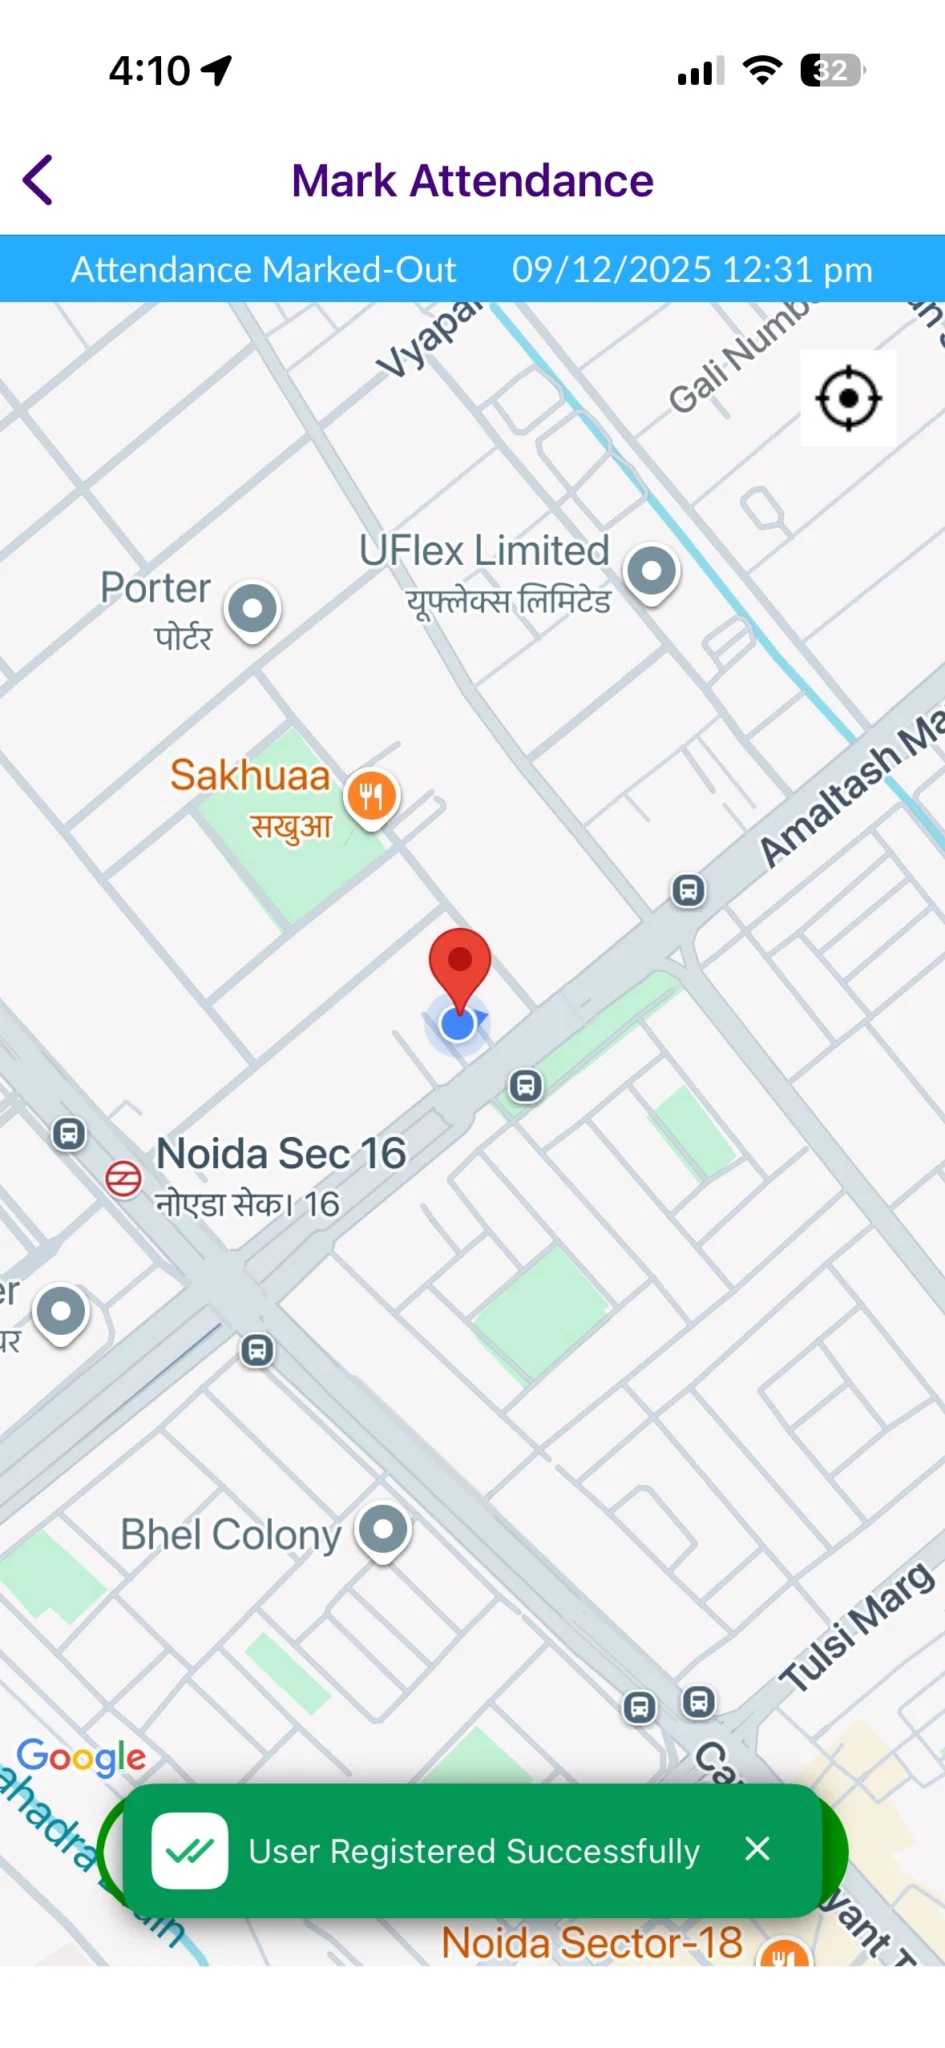
Step 1 — Check Registration Status
The screen displays:
Pending Approval
Approved
Step 2 — Submit Face (If Status = Not Registered)
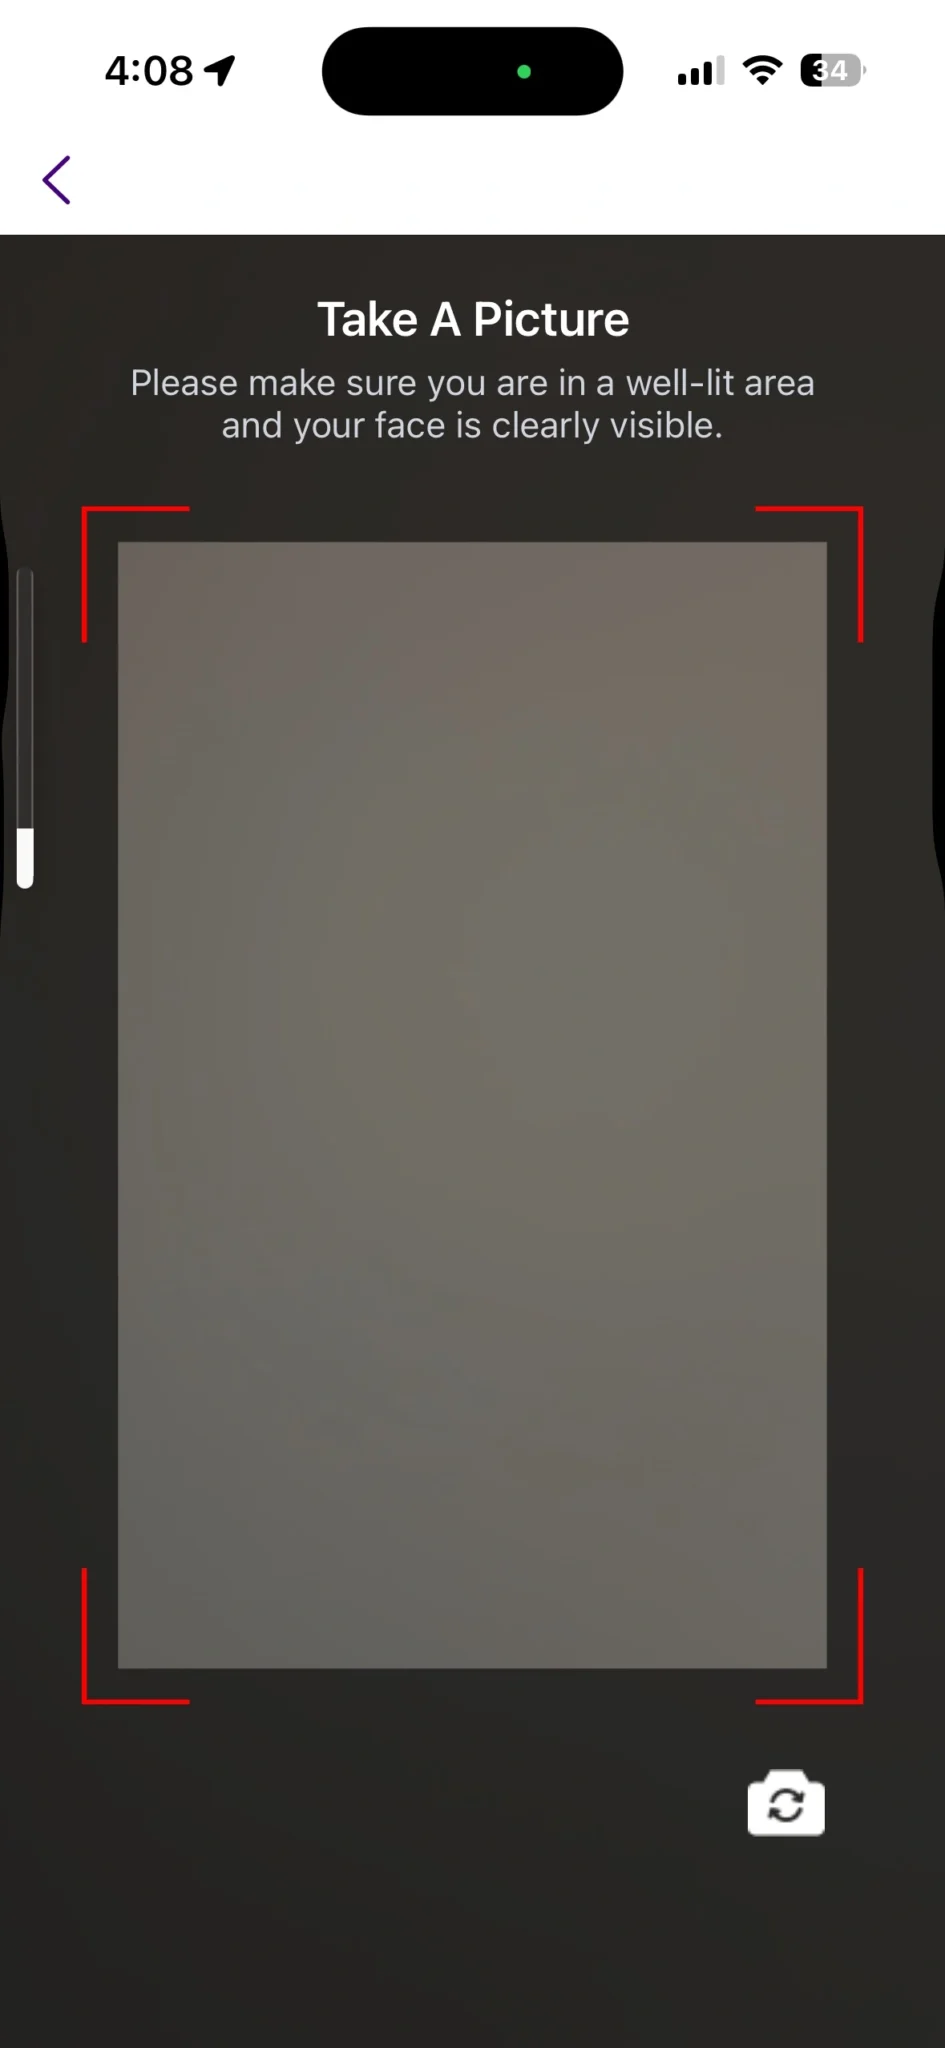
1. Tap “Register Now”.
2. Camera opens automatically.
3. Overlay instruction displayed: “Please make sure you are in a well-lit area and your face is clearly visible.”
4. Capture image .
5. Submit
System Behavior After Submission
- Image uploaded to backend .
- Status changes to Pending Approval.
- Confirmation displayed:
Registration Rules
- Only one active registration request is allowed.
- Multiple submissions are not permitted while status is Pending.
- Approval from Root Manager or Manager is mandatory before attendance usage.
3Approval Workflow (Field Manager – Web)
Navigation Path: Manage → Employee List
FR Status Values
Not Registered
Pending Approval
Approved
How to Approve or Reset Face Registration
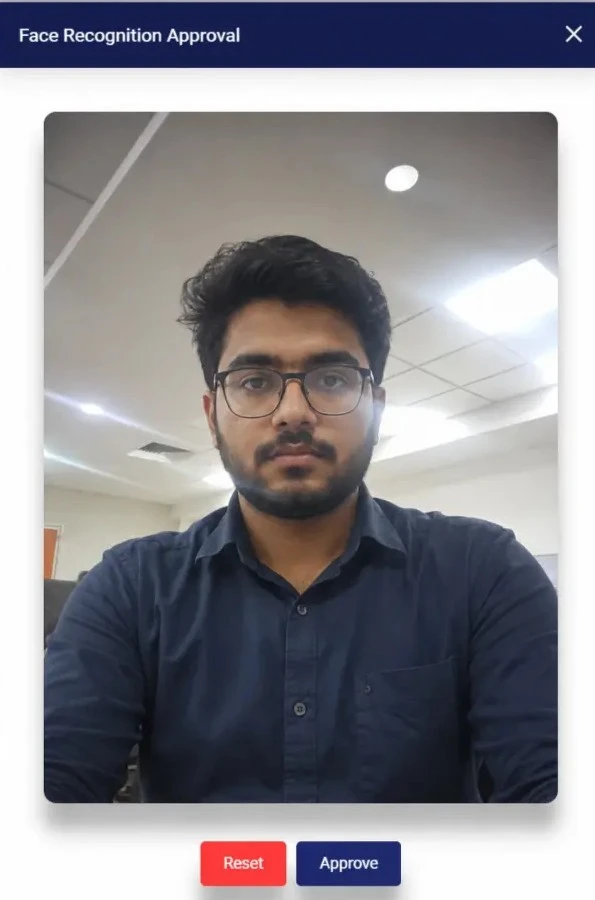
When statusPending Approval:
1. Click on the FR Status.
2. Popup opens showing submitted face preview
3. Buttons available: Approve or Reset.
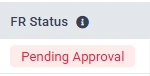
If Approve is Selected
- Status changes to Approved (Green).
- Push notification sent:
“Your face registration has been approved. You can now use Face Recognition to mark attendance.”
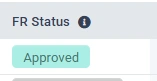
If Reset is Selected
- Status changes to Not Registered (Grey).
- Push notification sent:
“Your face registration has been reset. Please register again.”
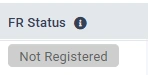
Managers can reset approved registrations at any time to force re-registration.
4Attendance Mark-In / Mark-Out (When FR Enabled)
How attendance is captured and verified once a face is approved.
Precondition
Employee must be Approved.
Mark-In / Mark-Out Process
When the employee swipes to Mark-In or Mark-Out:
1. Camera opens automatically.
2. Live face scan captured.
3. System matches live face with approved registered image.
If Face Matches Successfully
- Attendance is marked.
- Confirmation displayed: “Attendance marked successfully.”
- Verification Type logged as Recognized
Also, employees are able to mark their attendance offline as well. Once the network is restored, the data syncs automatically.
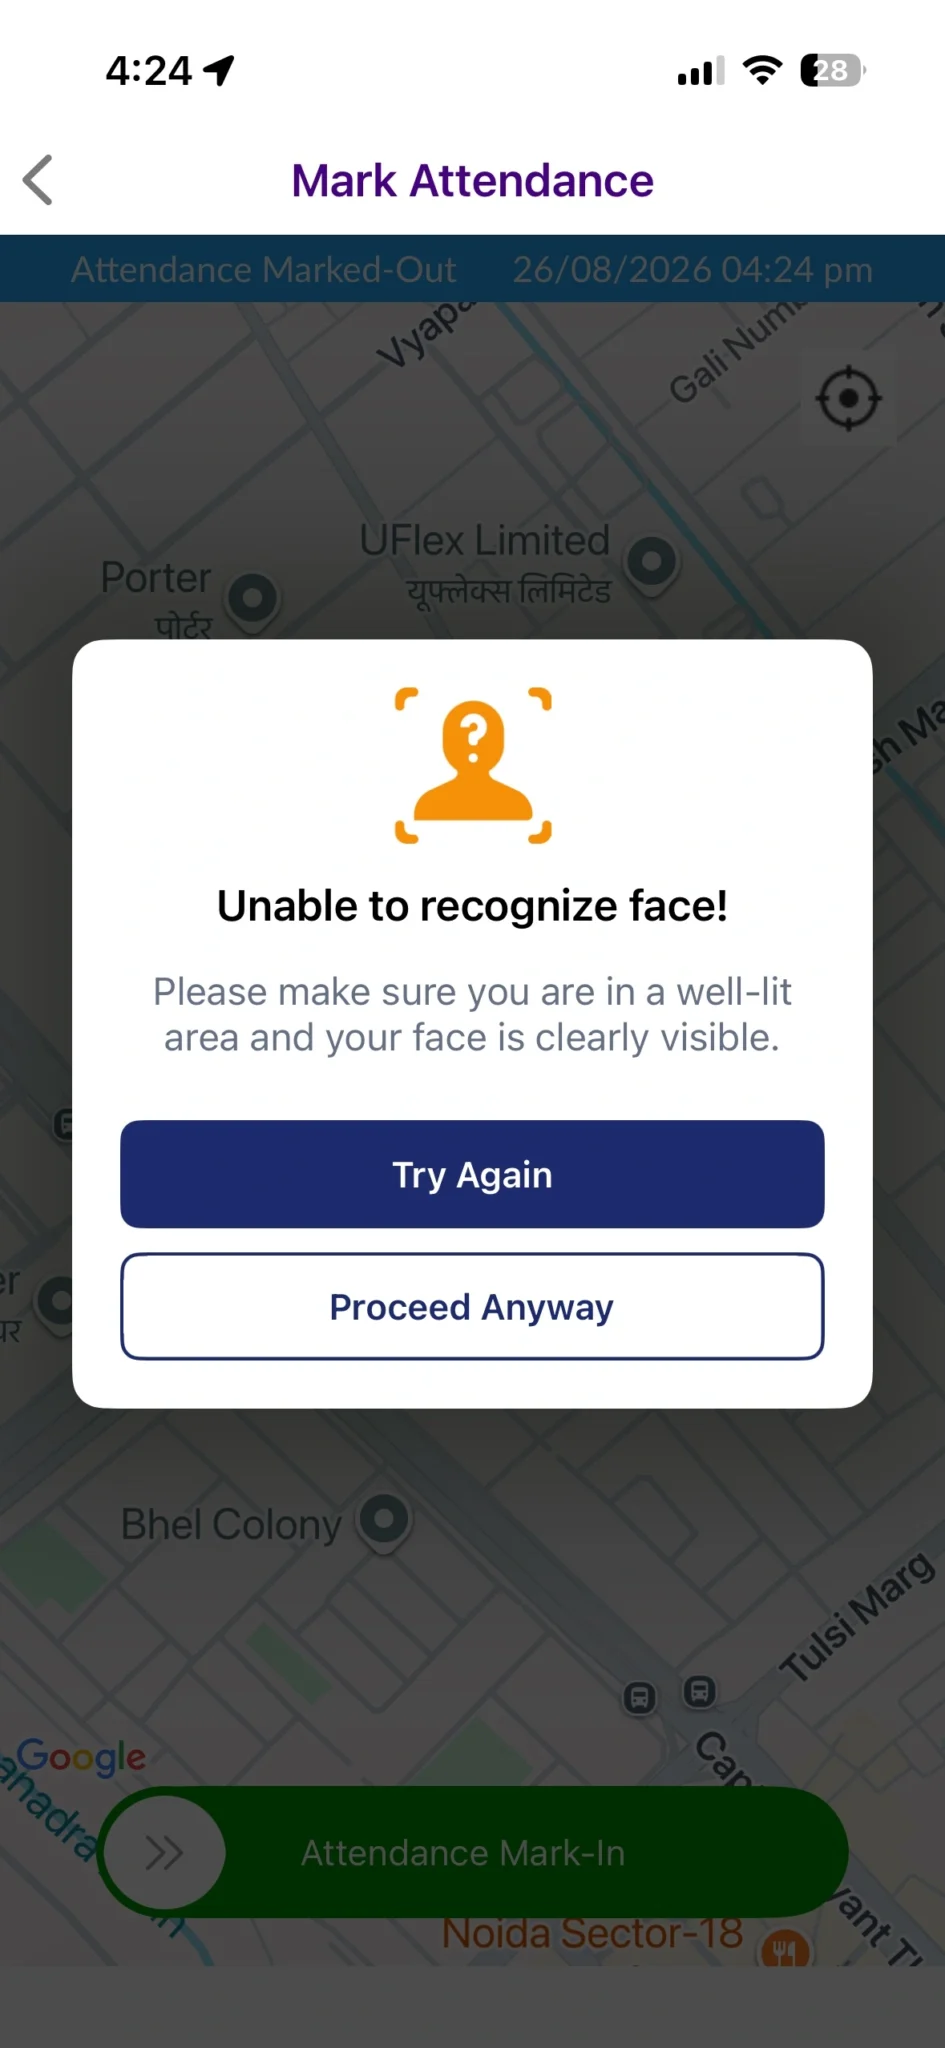
If Face Does Not MatchError message displayed: “Unable to recognize face. Please make sure you are in a well-lit area and your face is clearly visible.”
Options: Try Again • Mark-In as Unrecognized
If Mark-In as Unrecognized is Selected
- Attendance is marked.
- Verification Type logged as Unrecognized
- Visible in attendance logs for audit purposes.
If Face is Not RegisteredMessage displayed: “Face Recognition not registered. Please register in My Profile.”
Attendance cannot be marked until registration and approval are completed.
5Notifications (Field Executive)
Push notifications are triggered when:
- Face registration is approved
- Face registration is reset
Tapping the notification redirects the user to: My Profile → Face Registration
6Reporting and Data Validation
How is Face Recognition Reflected in Reports?
Navigation Path: Reports → Attendance → Unrecognized Facial Recognition Report
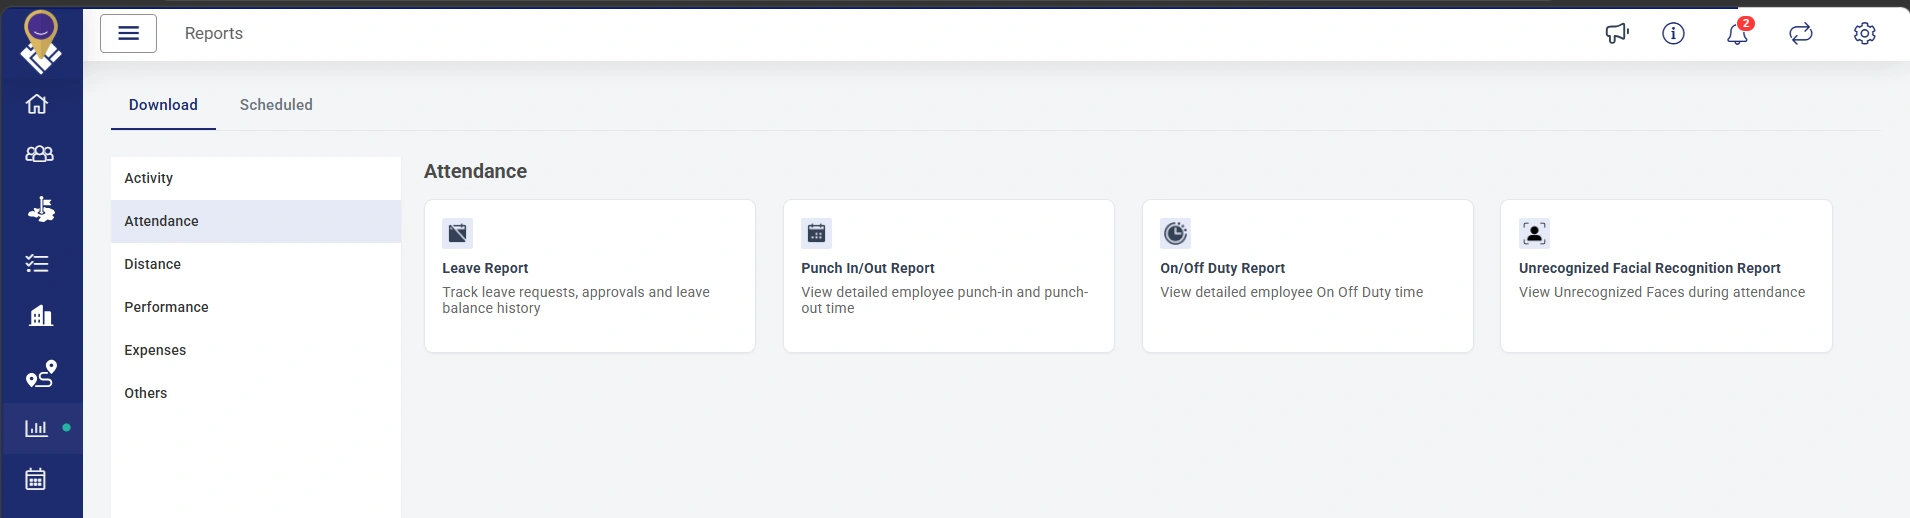
Attendance reports include:
- Employee Name
- Mark-In Time
- Mark-Out Time
- Attendance Duration
- Verification Type — Recognized / Unrecognized / Manual.
- Date

Filter Options
Managers can filter by:
- Date Range
- Employee
- Attendance Status

7Role-Based Impact
Who can do what across the Face Recognition workflow.
Super Admin
- Can enable or disable Face Recognition from FO Settings.
Root Manager
- Can approve or reset face registrations.
- Can view the FR Status column in Rider List.
Field Executive
- Must register and get approval before marking attendance when FR is enabled.
- Must complete face validation during Mark-In / Mark-Out.
8Edge Cases and System Behavior
Network Unavailable During Registration Error:“Unable to upload photo. Please check your internet connection.”
Action: Retry after restoring connectivity.
Camera Permission DeniedPrompt:“Camera access required for Face Recognition.”
User must enable camera access in device settings.
Backend FR Service Temporarily UnavailableIf the Face Recognition backend service is temporarily unavailable, the system allows field executives to mark attendance without face validation.
- Attendance is marked successfully.
- Verification Type is logged as Manual
- This helps differentiate backend service failures from face mismatch or non-recognition scenarios.
- Managers can review these entries in the Attendance Report for audit and validation.
FR Enabled but Not ApprovedAttendance cannot be marked until approval is completed.
9Business Rules
- If Face Recognition is disabled → FR Status shows NA.
- If enabled → Registration and approval are mandatory.
- Only Root Managers can approve or reset registrations.
- Only one active registration request is allowed at a time.
- Managers can reset approved faces at any time.
- Face images are securely stored with backend encryption.
- Recognition accuracy threshold is system-configurable.
★Best Practices
- Register your face in a well-lit environment. Avoid backlighting during registration.
- Remove caps, sunglasses, or face coverings before registration and attendance marking.
- Ensure stable internet connectivity before uploading your face image.
- If registration fails, retry using a different network connection.
- Managers should approve only clear and fully visible face images.